
This post is also available in: Deutsch (German)
Komoot is currently the best tool for route planning: the handling is simple and clear. And: Komoot knows the types of roads (for example, bicycle lane, backroads or main roads) and the surface conditions (for example, asphalt or loose ground)! Thats why it’s easy and great to plan road bike tours with Komoot.
Since September 2016 I am planning my road bike tours with Komoot. Before that, I had planned a long time with Strava. After landing with Strava on a single trail in the alps while trying to avoid the main street, Komoot is number one for me.
The tours I planned with Komoot I upload with the Garmin tool “Basecamp” to my Garmin Edge 820.
How tour planning with Komoot works
1. Call route planner
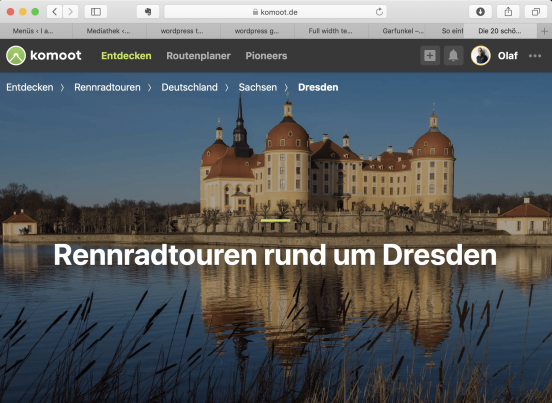
Calling up the route planner on the Komoot homepage (in the menu at the top of the window)
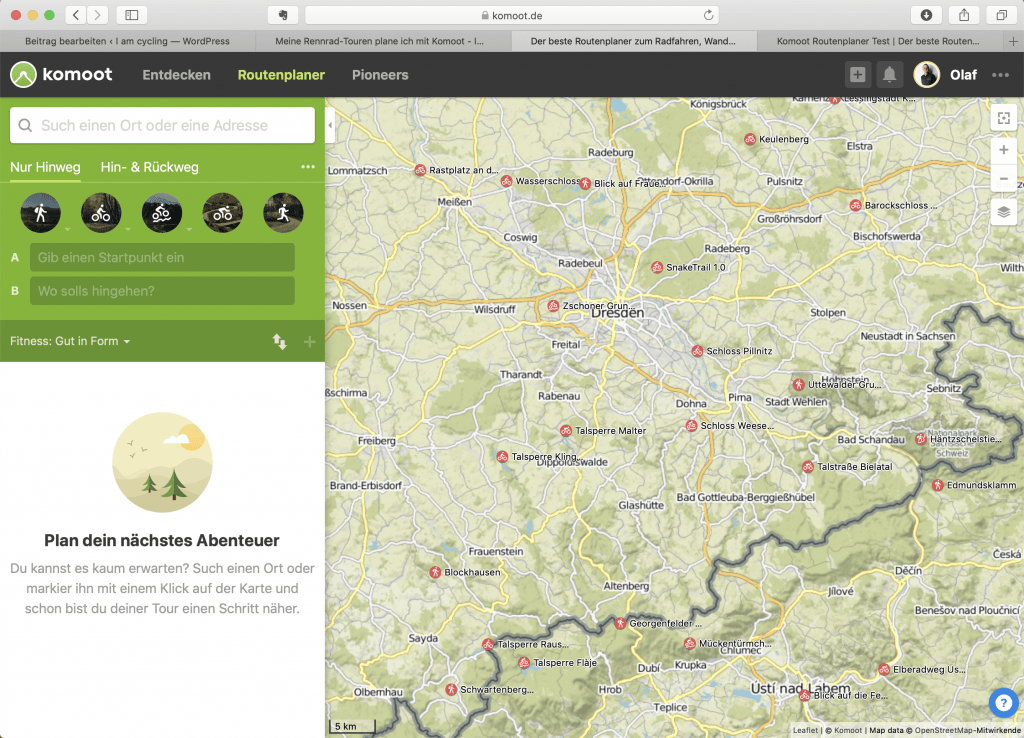
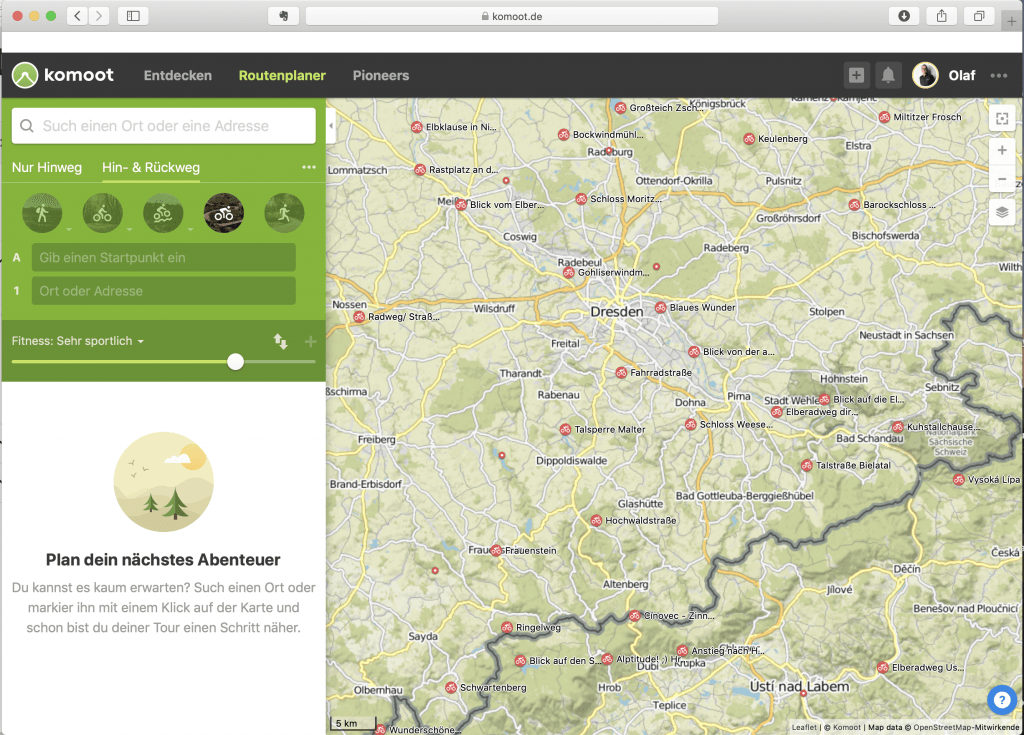
2. Select road bike icon
I choose the road bike icon in the green box at the top left. I do this because I plan a road bike tour and the tour suggestions differ depending on the type of motion.
3. Select round trip option
Then I choose “round trip”, since I usually go round trips and not one-way.
4. Fitness
Clicking on the “Fitness”-button will bring up a slider where I set my shape. This information has an effect on the calculation of the duration of the journey. The categories range from “untrained” to “professional”.
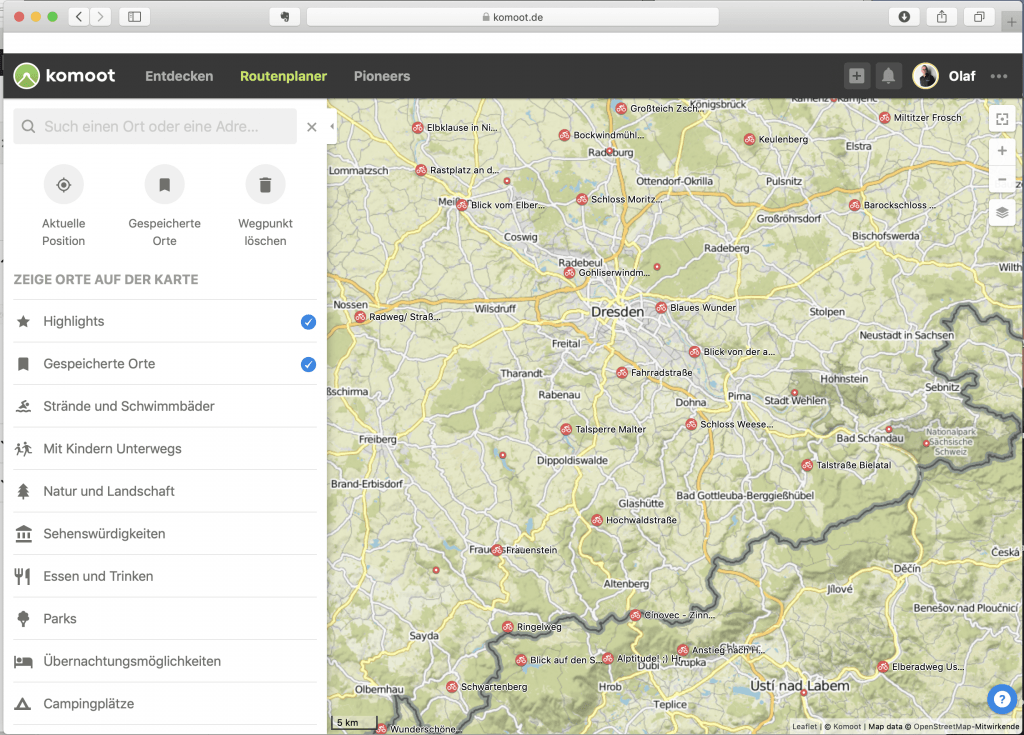
How does the input of waypoints work?
Waypoints are used for the starting point, the finish and any intermediate points. If you click one of the fields “Enter a starting point”, “Where do you want to go” or for intermediate points on the plus sign in the green box on the bottom right, then the left side of the window changes.
If you want to cycle to a certain place, you can enter it via the search field. As an alternative to entering the address, you can also select the “current position” and previously saved locations as waypoints.
In the same window you can use the legend under “Show Places on the map” to select what should be displayed on the map. I would definitely show “highlights” and “saved places”. Then I am able to select those directly on the map as waypoints.
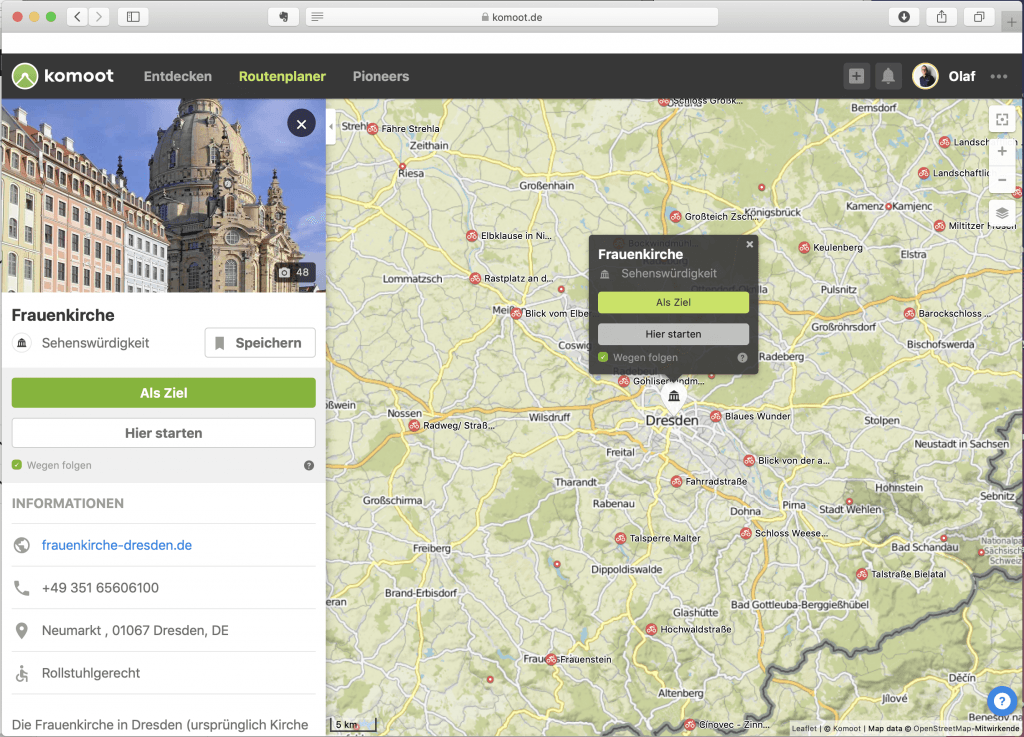
5. Input of starting point
In the box “Enter a starting point”, I usually enter my home address. Because I usually start from home.
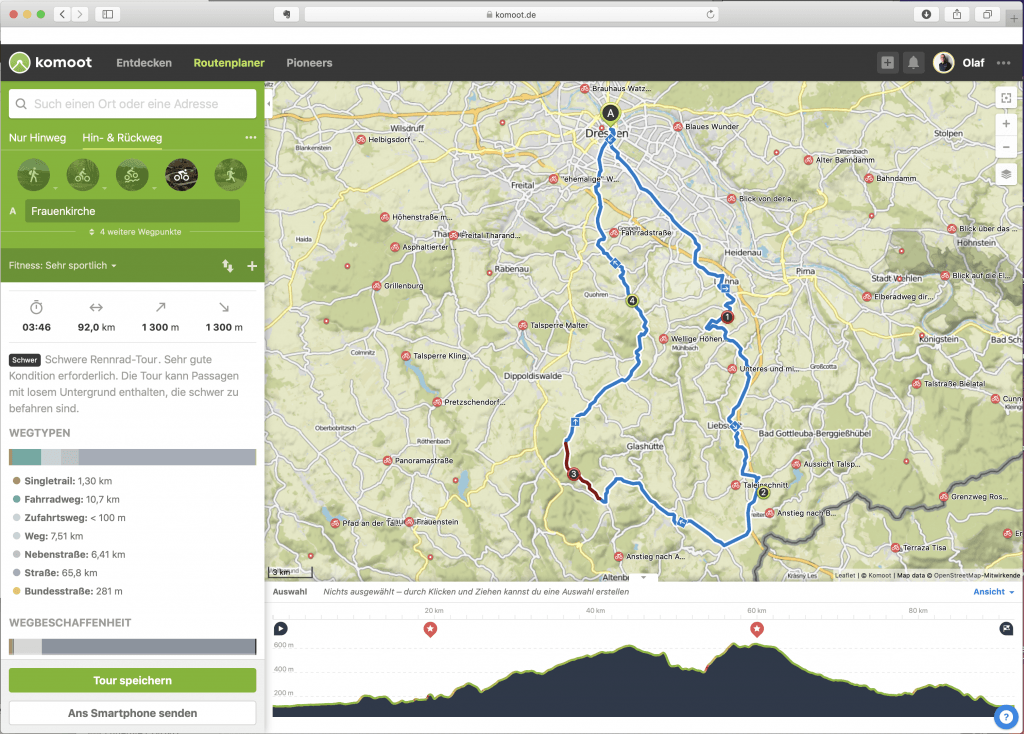
For an example tour, I write instead “Frauenkirche Dresden”. A list appears from which I select the “attraction”. A text field appears on the map. In the text box I click “Start here”
6. Select waypoints as starting point
Waypoints can be easily selected directly on the map. Alternatively, they can be typed in the “Location or Address” field.
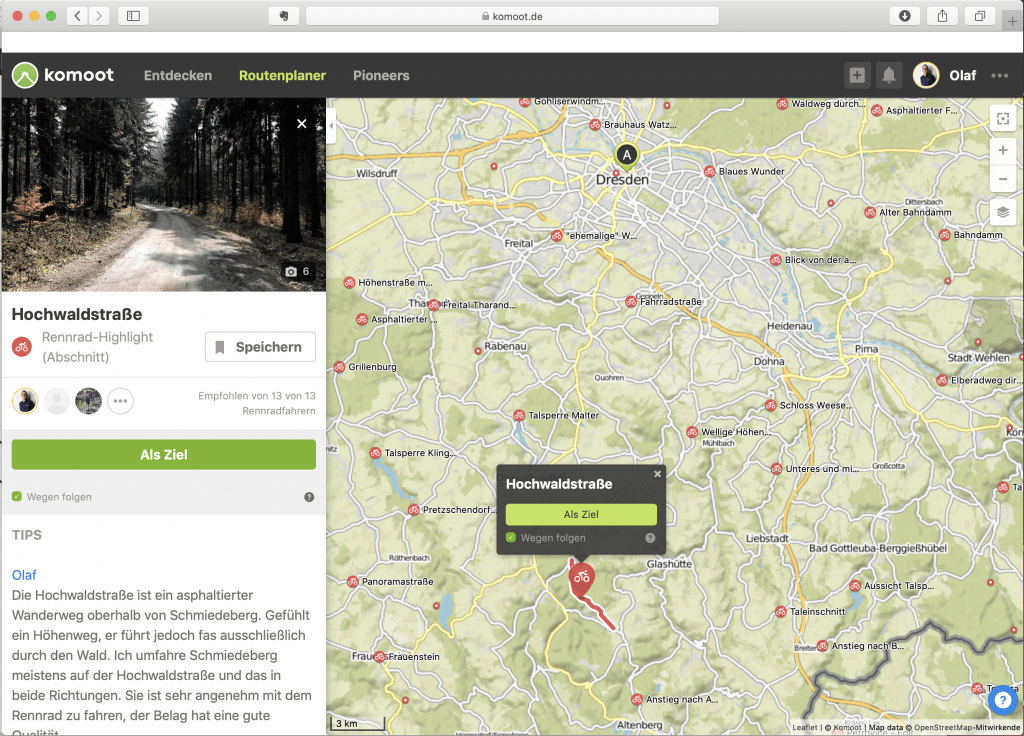
7. Selection of destination
On the map you find the road bike highlight “Hochwaldstraße” south of Dresden. Clicking on it opens the description of the highlight on the left side of the screen. A text box will open in the map asking for confirmation “As Destination”.
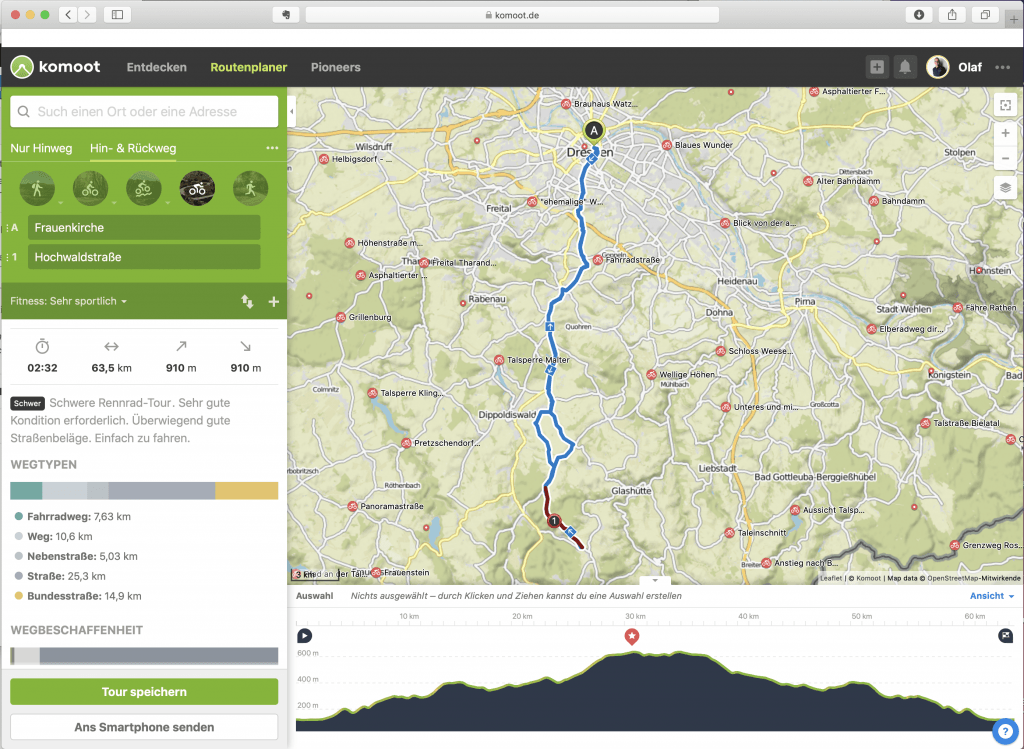
8. The first route is ready
After clicking on the “As Destination” field, Komoot calculates the route to the destination. The route is shown on the map with a blue line. At the same time, the associated height profile is shown at the bottom of the screen.
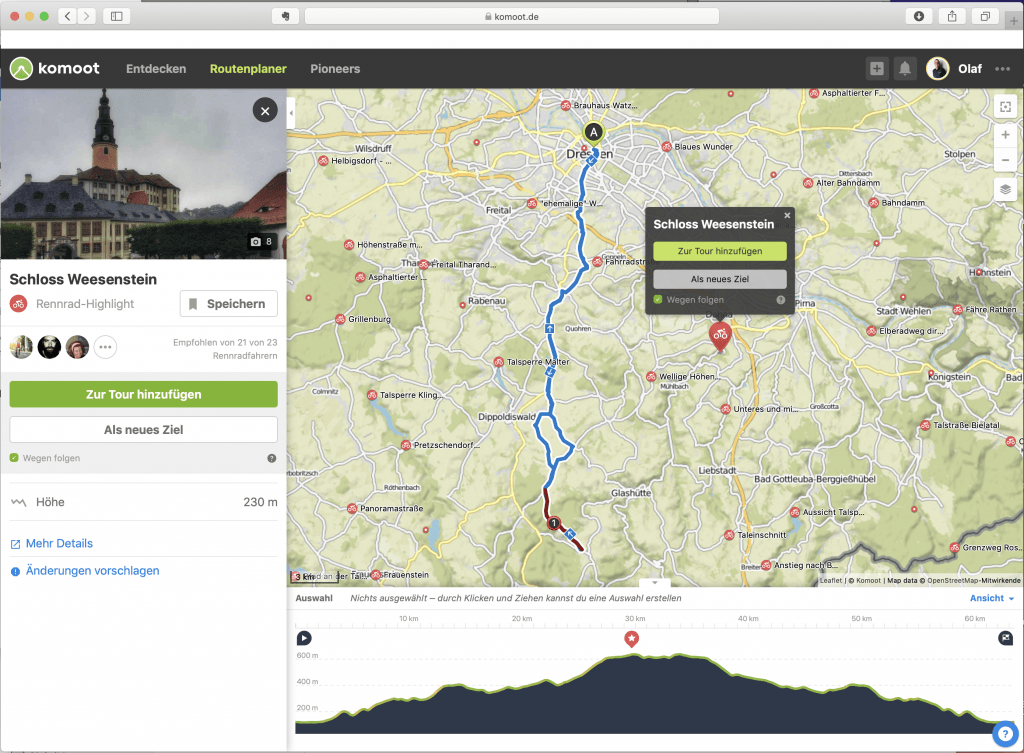
9. Adding a waypoint
East of the route there is the highlight “Schloss Weesenstein”. When clicking on it a rather poor description on the left side of the screen opens. The text field “Schloss Weesenstein” appears on the map. Click on “Add to Tour”. Schloss Weesenstein is added by Komoot as a new waypoint.
If you had selected “As new destination”, the new waypoint would have been added at the end of the tour.
10. Adding a further waypoint
To make the route a nice round trip we choose a further waypoint. For example, south-east of the planned tour the point “Taleinschnitt”. Clicking on it opens again the description of the highlight and the text field in the map. The point is again selected with the button “Add to Tour”.
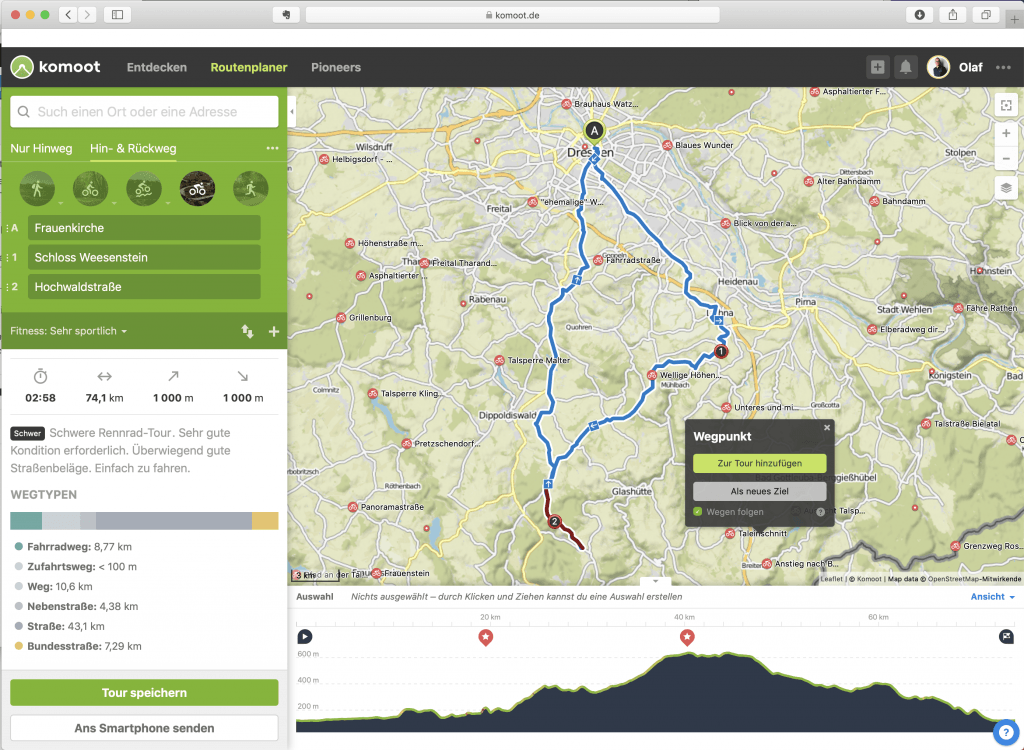
11. Der vorläufige Rundkurs ist fertig
We have now planned a beautiful roundtrip with 85.3 kilometers length and 1,300 meters of elevation.
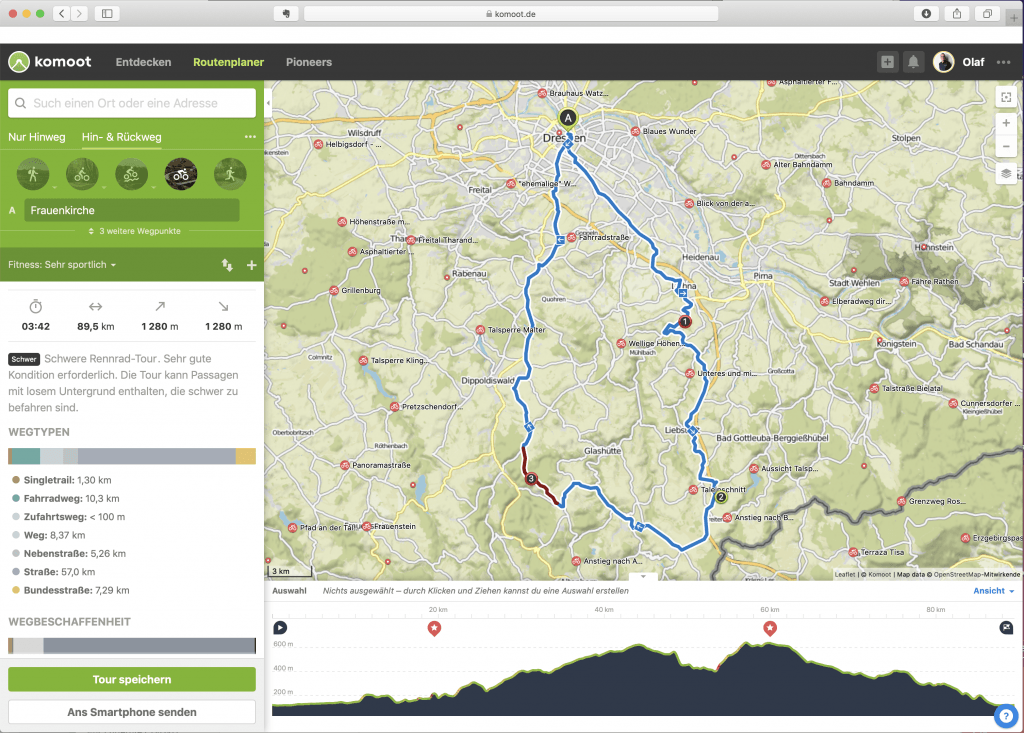
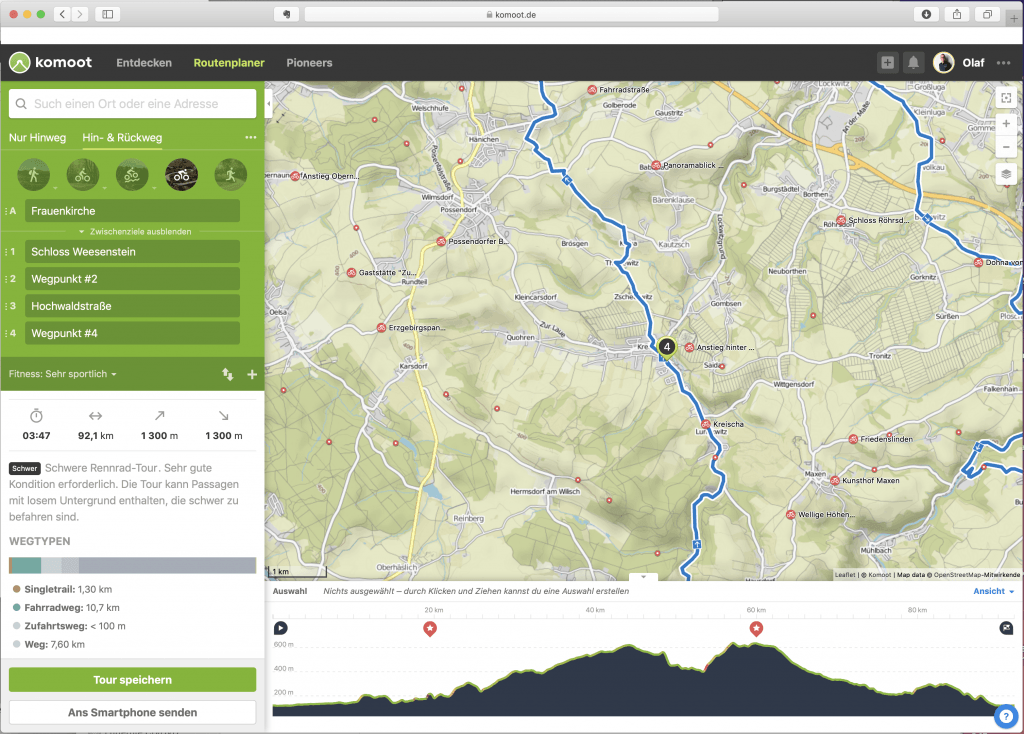
12. Adding further waypoints
Any number of waypoints can be inserted in the same way.
13. Change the sequence of waypoints
In the green field in the upper left corner of the screen the planned waypoints can be displayed by clicking on “x more waypoints”. In this list you can touch the waypoints with the mouse and change the order as you like. Komoot plans the route accordingly.
14. Invert the direction of the tour
If you click the two arrows on the lower right side of the green area on the top left of the screen, you can invert the direction of the tour.

15. Checking the route and “fine tuning”
Once I planned a route so far, then I zoome always in and check it in detail. I look for “unpleasant sections” such as major roads. Or path sections I know it’s better to avoid.
To change the route, I click and hold o point of the planned route I want to change, with the mouse button pressed. Then I pull the track to where I prefer cycling. Finished. Komoot does the rest. This can be repeated until you are satisfied. Waypoints can be touched and moved as well.
In our example tour, the route leads over the federal road 170. To cycle there is quite unpleasant. That’s why I prefer, for example, the route near Karsdorf.
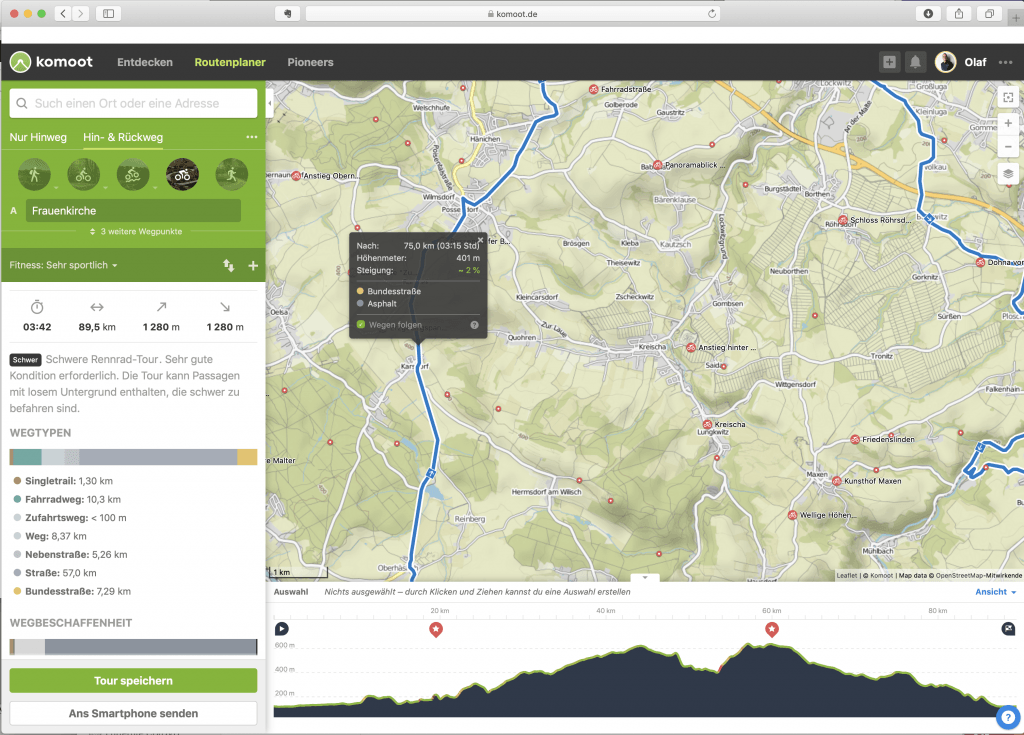
Then I pull the track with pressed left mouse button to Kreischa. Komoot adjusts the route. And the main road is no longer part of the route.
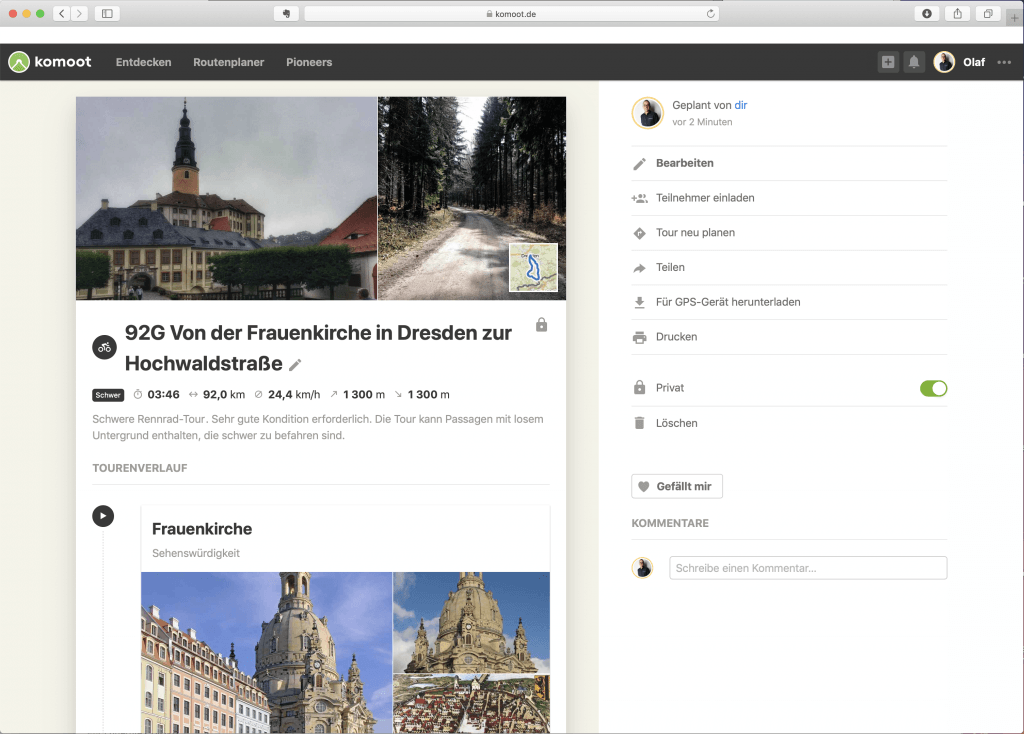
16. Saving the tour
If I’m satisfied with the track I save it by clicking on “Save tour” on the left bottom of the screen. I enter a tour name. And the tour is saved. I always add the length, distinctive waypoints and the destination point to the name. That makes it easier. to choose one for the next tour from my fund of planned tours.
17. Loading of planned tour
You can call up the saved tours by clicking on the username on the top right and the menu item “Tours” – “planned”.

What are „Highlights“?
Komoot user can suggest highlights of their tours in the respective sport for other users. It’s nice if you explain the recommendation with a photo or a description. The highlights are then shown in the map.
Highlights can be track sections or waypoints. Highlights can only be created along a GPS track you made.
When selecting a sport, its highlights are shown by a larger icon. Highlights of the other sports are shown only with a small red circle with white center. Depending on the area and the amount of highlights there, additional highlights may appear when you zoom in on the map.


j hiller
24. July 2021 — 19:51
Is it possible to add labels to waypoints? I’d like to add information to a planned tour such as ‘coffee shop’ or ‘John’s home’.
Thanks.
ozett
25. July 2021 — 06:29
As far as I know it‘s not directly possible. But if you add a waypoint by searching it, it appears with it‘s name. You can also opt for showing sveral kind of places of interest like restaurants. If you add those via the map they should also appear with the name. Finally you can create your own waypoint as a highlight. If you include a highlight ut appears also with it’s name.
rani
25. February 2020 — 14:39
how was the situation there?